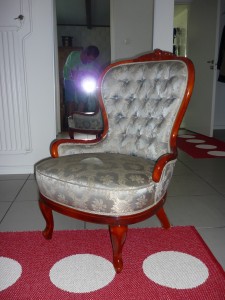
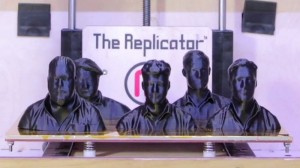
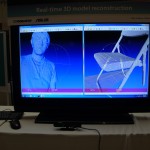
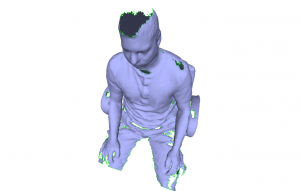
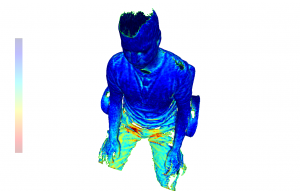
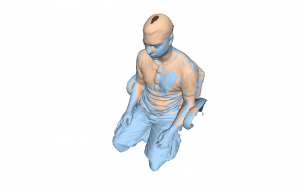
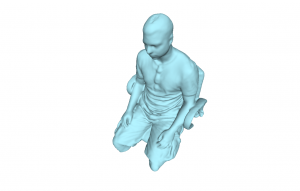
 As of today ReconstructMe SDK 1.0 is available for commercial and non-commercial use. ReconstructMe SDK is designed for a broad band of applications. It targets simple real-time reconstruction applications and scales up to multiple sensor projects.
Design
We spent a lot of time in designing the API as we wanted it to be as easy-to-use as possible without limiting the possible flexibility. After dozens of approaches and evolutionary prototypes, we’ve settled with a design that we think accomplishes the following main goals
- easy-to-use A generic and consistent API allows you grasp the concepts quickly and develop your first reconstruction application within minutes.
- easy-to-integrate The API comes as a pure C-based implementation without additional compile time dependencies. Interopability with other programming languages is easly possible.
- high-performance The SDK is designed to provide a maximum performance for a smooth reconstruction experience.
Real-time 3D reconstruction is complex. We tried to hide as many details as possible about the process to allow you to concentrate on application programming.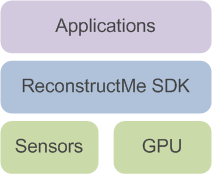
Availability
The ReconstructMe SDK is available for non-commercial usage (with some limitations) and commercial usage. Both feature the same functionality, but the non-commercial version is limited in some aspects. See our project page for details. The package comes bundled with an installer that allows you to install the necessary sensor drivers on the fly (note that the drivers are not included, but downloaded remotely from our site).
ReconstructMe SDK is currently compiled for Windows 32bit using Visual Studio 10.
Interoperability
Getting reconstructme to work in other programming languages is easy. We added an example to demonstrate the case for C#. We’d like to add binding for all common languages, but obviously that is a task that requires the help of the community. If you’d like to contribute to a binding drop us a note in our development forum.
Example
Here’s a very first introductory example into the C-API copied from the reference documentation. The example shows how to perform real-time reconstruction using a single sensor. Besides, built-in real-time visualization and surface visualization is used. The final mesh is saved in PLY format.
Here’s the corresponding code
// Include the necessary headers
#include <reconstructmesdk/reme.h>
  // Create a new context
  reme_context_t c;
  reme_context_create(&c);

  // Compile for OpenCL device using defaults
  reme_context_compile(c);

  // Create a new volume
  reme_volume_t v;
  reme_volume_create(c, &v);

  // Create a new sensor. Tries multiple backends using default
  // sensor configurations, returns the first working one. By default
  // each sensor works on the first volume created.
  reme_sensor_t s;
  reme_sensor_create(c, "openni;mskinect;file", true, &s);
  reme_sensor_open(c, s);

  // For debugging purposes open a viewer for tracking the reconstruction process.
  // This will create a two-sided viewer showing the video stream and the current
  // reconstruction from the sensor point of view.
  reme_viewer_t viewer;
  reme_viewer_create_image(c, "This is ReconstructMe SDK", &viewer);
  reme_viewer_add_image(c, viewer, s, REME_IMAGE_DEPTH);
  reme_viewer_add_image(c, viewer, s, REME_IMAGE_VOLUME);

  // Perform reconstruction until no more frames are left
  int time = 0;
  while (time < 200 && REME_SUCCESS(reme_sensor_grab(c, s))) {

    // Prepare image and depth data
    reme_sensor_prepare_images(c, s);

    // Try to determine updated sensor position.
    // On succes, update volume, otherwise move to a recovery position
    // and wait for the tracking to start again.
    if (REME_SUCCESS(reme_sensor_track_position(c, s))) {

      // Update volume with depth data from the
      // current sensor perspective
      reme_sensor_update_volume(c, s);

    }

    // Update the viewer
    reme_viewer_update(c, viewer);
    time += 1;
  }

  // Close and destroy the sensor, it is not needed anymore
  reme_sensor_close(c, s);
  reme_sensor_destroy(c, &s);

  // Create a new surface
  reme_surface_t m;
  reme_surface_create(c, &m);
  reme_surface_generate(c, m, v);
  reme_surface_save_to_file(c, m, "test.ply");

  // Visualize resulting surface
  reme_viewer_t viewer_surface;
  reme_viewer_create_surface(c, m, "This is ReconstructMeSDK", &viewer_surface);
  reme_viewer_wait(c, viewer_surface);

  reme_surface_destroy(c, &m);

  // Make sure to release all memory acquired
  reme_context_destroy(&c);

  /** [Example Code] */
For more examples please visit the documentations’ example page.
Happy reconstruction!
The ReconstructMe Team.
 We’ve just released ReconstructMe SDK 1.1 which brings you improved image support, calibration support as well as an increased scanning time for non-commercial projects. This release also greatly improves the documentation of the API with additional examples and sections on critical API elements.

